This no-bake, creamy slice of chocolate-peanutty goodness is a wonderful make-ahead dessert! This yummy treat is easy but impressively lovely and delicious! This recipe is dedicated to my husband’s love of chocolate and peanut butter! I decorated it with candy glass last year and with polished rocks this year!

| Prep Time | 20 minutes |
| Passive Time | 1-2 hours to set |
| Servings |
8 inch cake
|
Ingredients
Crust
- 1 1/4 cups oreo cookie crumbs You can get gluten-free ones now!
- 1/4 cup melted vegan butter
Filling
- 1 1/2 cups cashews
- `1/2 cup maple syrup
- 6 Tablespoons melted refined coconut oil
- 1/2 cup vegan chocolate chips
- 1/2 cup natural smooth peanut butter
- 3/4 cup canned coconut milk -thick cream off the top of the can. Use the higher fat version.
- 2 teaspoons vanilla
- 4 Tablespoons cocoa
- 1/2 teaspoon salt
Top Layer
- 1/2 cup vegan chocolate chips
- 1/4 cup chunky peanut butter
- 1/2 teaspoon vanilla
Ingredients
Crust
Filling
Top Layer
|
|
Instructions
Crust
- Just mix the crumbs with melted butter and press into a parchment-lined 8 inch springform pan. Put in the fridge to set while you make the filling.
Filling
- Roast your cashews in the oven for a few minutes until they are browned. This adds so much roasty flavour! When done, put in a large bowl and cover with boiling water to soften. This takes about an hour. The softer the cashews, the smoother the filling will be! You can easily do this step the day ahead.
- In a microwaveable bowl, stir together the maple syrup, coconut oil, chocolate chips, and the smooth peanut butter. Melt gently together and set aside.
- Put the drained cashews and the coconut milk into the Vitamix Blend until smooth. Add the melted mixture, the vanilla, cocoa, and salt.
- Blend for another minute until well blended and then pour into the prepared pan.
- Refrigerate until firm. Leave it at least an hour or two before you put on the top layer.
Topping
- Melt the chocolate chips with the peanut butter in the micro just until melty. Stir in the vanilla and then spread the warm chocolate mixture over the cool filling. Let the whole thing set in the fridge until chocolate layer has set. This can all be done the day ahead or even made and frozen. Best served cool but not frozen. Enjoy!
Recipe Notes

I decorated this with some edible melted glass in honour of Bill's love of glass and his birthday! Something different for your 64th!
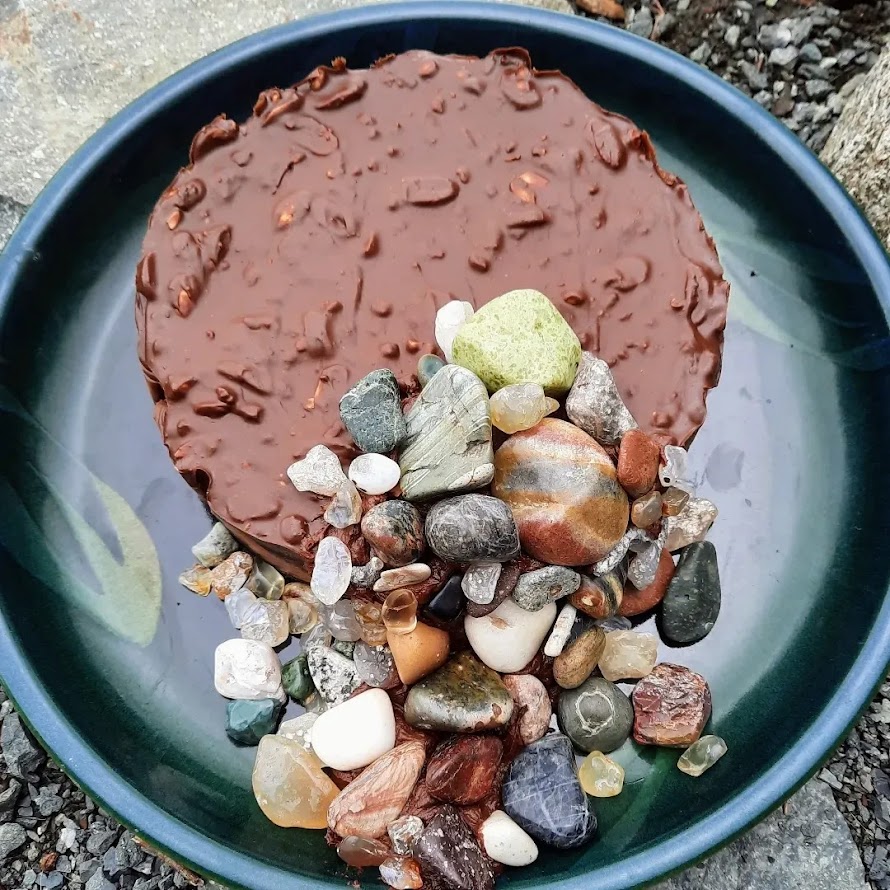
I used polished rocks (not edible) for Bill's 65th!
I used 2 x 6 marigolds for his 66th! Theo helped him blow out the candle!
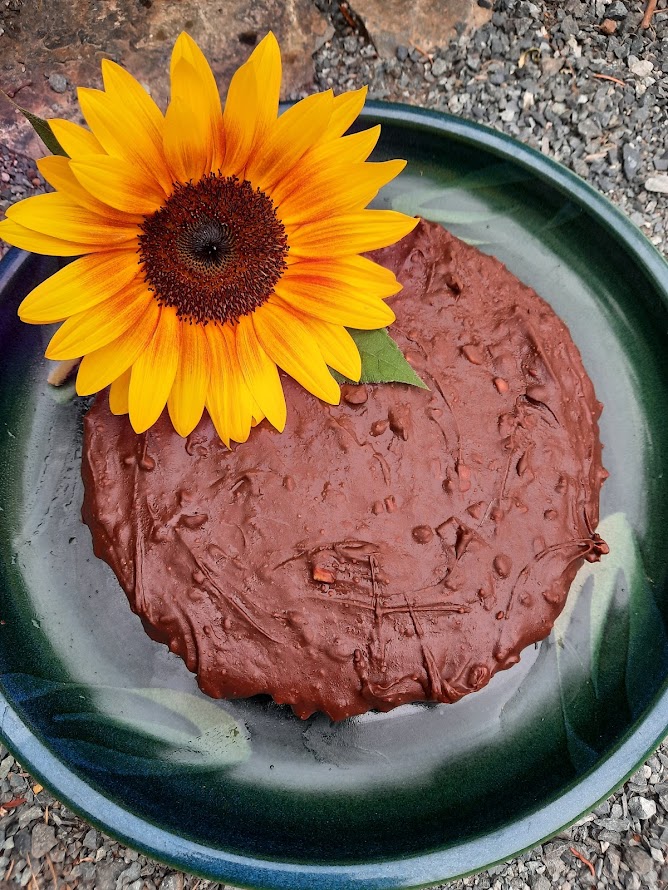
Sunflowers also make cool decorations!
(The leftover cake freezes very well, so you can stretch out the celebration!)