Grandma used to make these for special occasions and the homemade flavour still brings back wonderful memories. A thin, lemony glaze is the perfect compliment to the richness of the brown sugar base; add some coloured glaze and swirl for extra fun! A great activity for a house-bound day!

| Prep Time | 15 minutes |
| Cook Time | 8-10 minutes |
| Servings |
dozen
|
Ingredients
- 3/4 cup vegan butter
- 1 cup brown sugar
- 1/2 Tablespoon ground flaxseed or substitute one "egg" of Bob's Red Mill Egg Replacer
- 1/1/2 Tablespoons water for the flax egg
- 1/2 teaspoon salt
- 2 teaspoons vanilla
- 1 3/4 cup unbleached flour
Ingredients
|
|
Instructions
- Heat oven to 350 degrees F.
- Mix 1/2 Tablespoon ground flaxseed with 1 1/2 Tablespoons warm water and let sit for a few minutes. This is equivalent to 1/2 of a flax "egg" for binding. I also made these using one "egg", using Bob's Red Mill Egg Replacer, and it worked very well in this recipe.
- To prepare dough, whip the butter with the brown sugar until fluffy. Add the salt, vanilla, and "egg". Mix well.
- Mix in the 1/3/4 cup flour and combine until mixture forms a soft dough. Don't over-flour the mixture or it will be less delicious. Just wrap and chill the dough to make it easier to work with.
- Roll out the dough onto parchment paper or a silicone mat. Use a sheet of parchment paper on top of the dough to allow you to roll out the dough without adding extra flour. This keeps your dough tender. Roll out to desired thickness. If you like a thin, crisp cookie, roll out to about 1/4 inch thick. Don't roll them too thinly or they will be hard to handle.
- Carefully move your cut cookies onto a cookie sheet. lined with parchment paper or a sil pad.
- Mix scraps from your first cutting with the remaining unrolled dough and roll out again until all the dough is used. If you don't want to cook these all at once, just wrap the dough and refrigerate. It will keep well for a few days.
- If you are adding sprinkles instead of icing them, sprinkle them on before baking.
- Bake cookies for 6-8 minutes, watching closely. Longer cooking also makes a crispier cookie. I prefer them a little brown around the edges.
- Let sit on cookie sheet until set and then remove them and let cool on a rack.
- Once cool, you can ice these as desired. A quick decoration that we like is just to sprinkle them with rainbow cake decorations (the round ones, not the long ones) before baking. Simple and pretty!
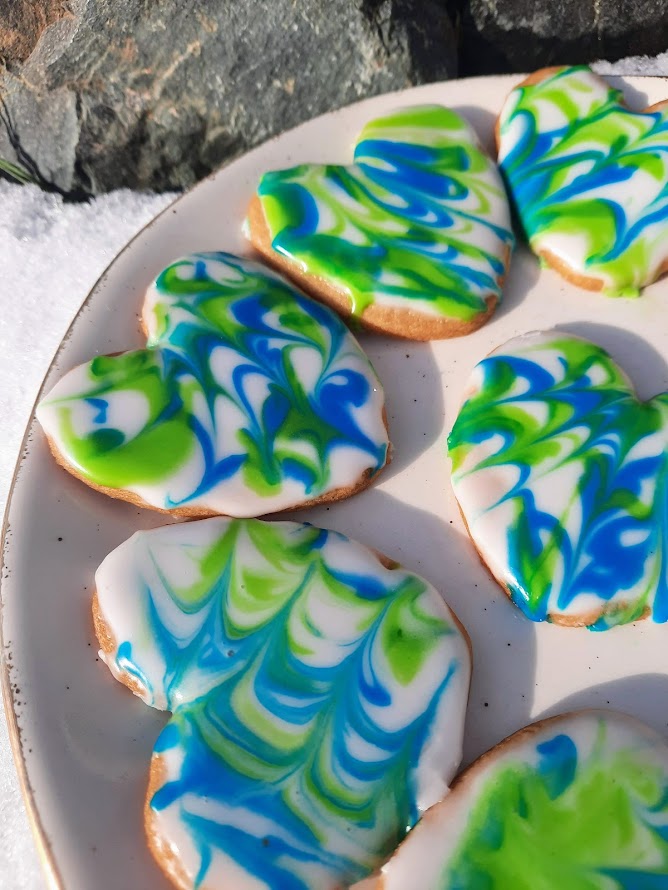
- Traditionally, Grandma used a lemon glaze. She just mixed icing sugar with some fresh lemon juice until the glaze was just right and then dipped each cookie top in the glaze. It is fun to swirl some colours into the white icing and make some brightly coloured cookies! Make sure that you make a little richly-coloured glaze (and a toothpick) to drizzle on the colour/colours. It is much easier to work with than the straight food-colouring.) Let the glaze harden and enjoy!
- These can be frozen but they will be a softer cookie when defrosted, as the glaze will soften it. These are just perfect on the day you make them, but you can make the dough ahead and keep that wrapped in the fridge for a few days.
Recipe Notes
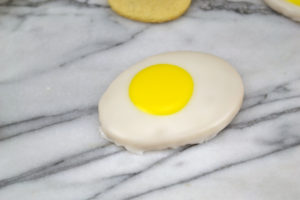
The Easter-themed "fried egg" cookies, were an accidental invention that became a tradition in our family. Now it carries on in this wonderfully eggless recipe! This is one of Erin's favourites!